Photographs
Bay Area photographer and CalTrain conductor Brad Fick provided hard-to-find photographs of the Dumbarton Bridge.
Figure 1: Ariel View of the Dumbarton Bridge

Figure 2: Newark Slough Bridge

Figure 3: Dumbarton Bridge Operators House

Figure 4: View looking toward the West.

Figure 5: View looking East toward Newark Slough Bridge

Figure 6: Dumbarton Bridge

Figure 7: East Bay Approach to the Dumbarton Bridge

Figure 8: Western Approach to the Dumbarton Bridge

Figure 9: Western Portion of the Dumbarton Bridge showing the burned-down portion

Figure 10: Drone view of the Dumbarton Bridge. It was left open to provide boat access south of the bridge

KQED Photos of the 1998 Bridge Fire
via Patch
Figure 11: Timber Trestle on Fire. 1998.
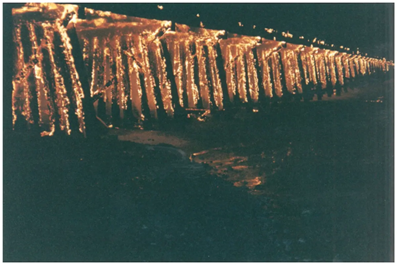
Figure 12: Fire truck loaded up on special rail equipment on the way to the Dumbarton Fire.
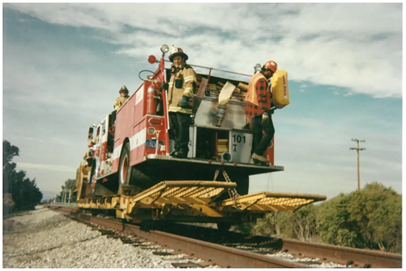
Figure 13: Fighting the Dumbarton Fire.
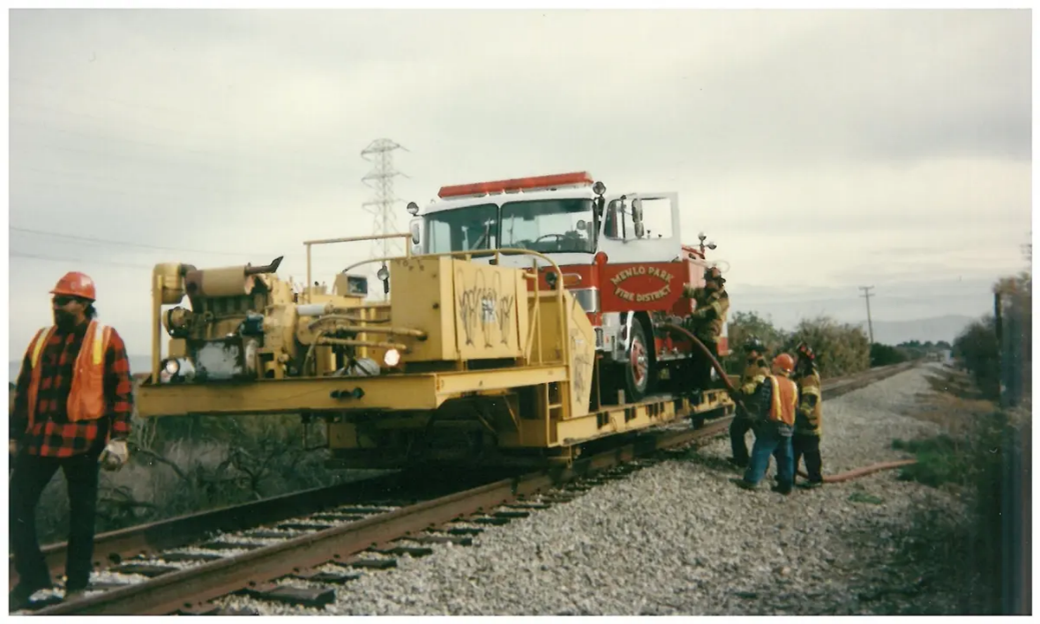
Figure 14: Loading up the Fire Truck. Chilco Street or University Avenue.
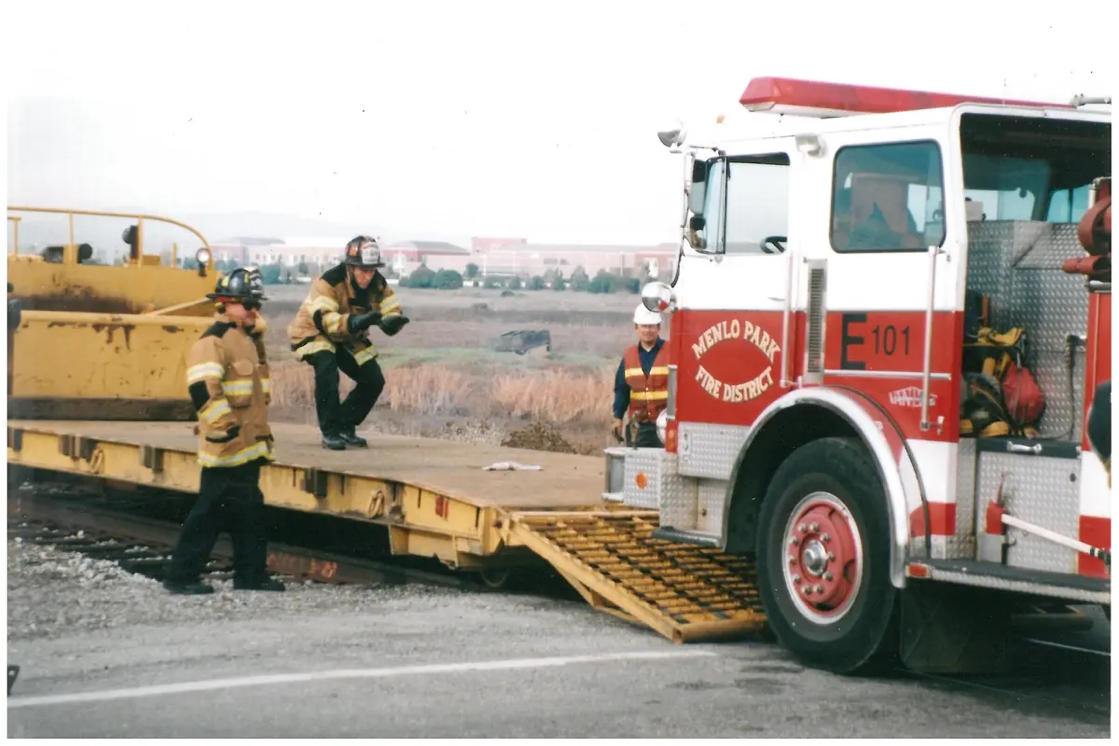
Figure 15: Western Timber Trestle on fire
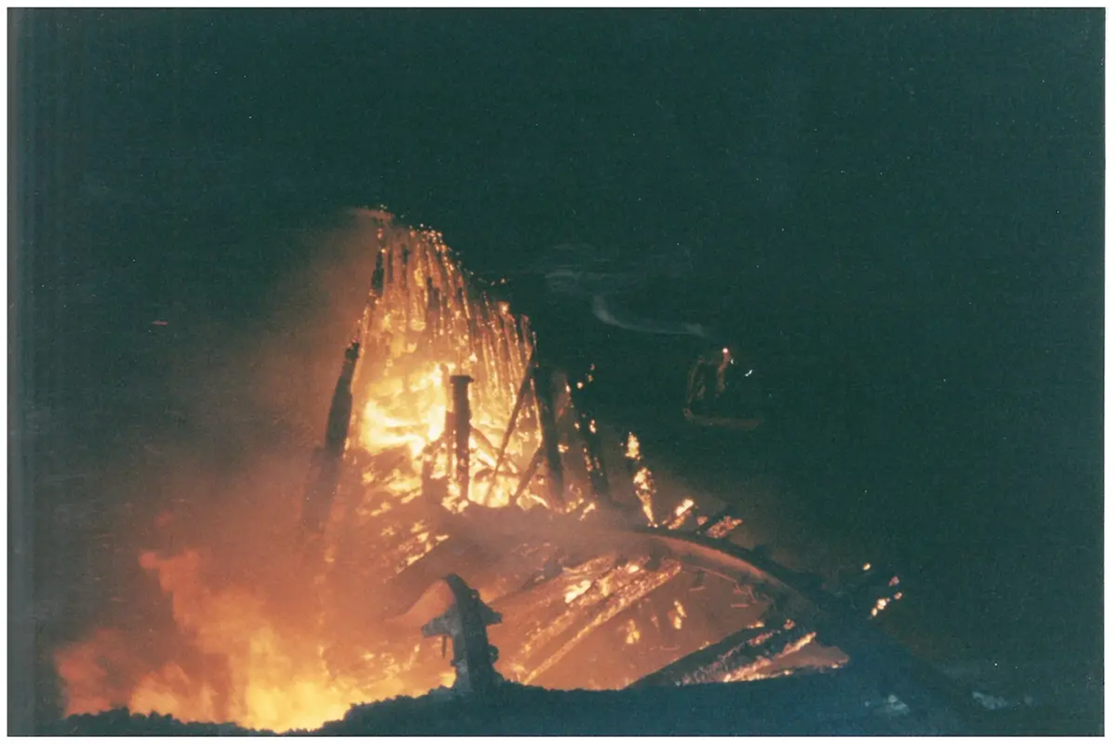
Figure 16: Western Approach still smoldering.
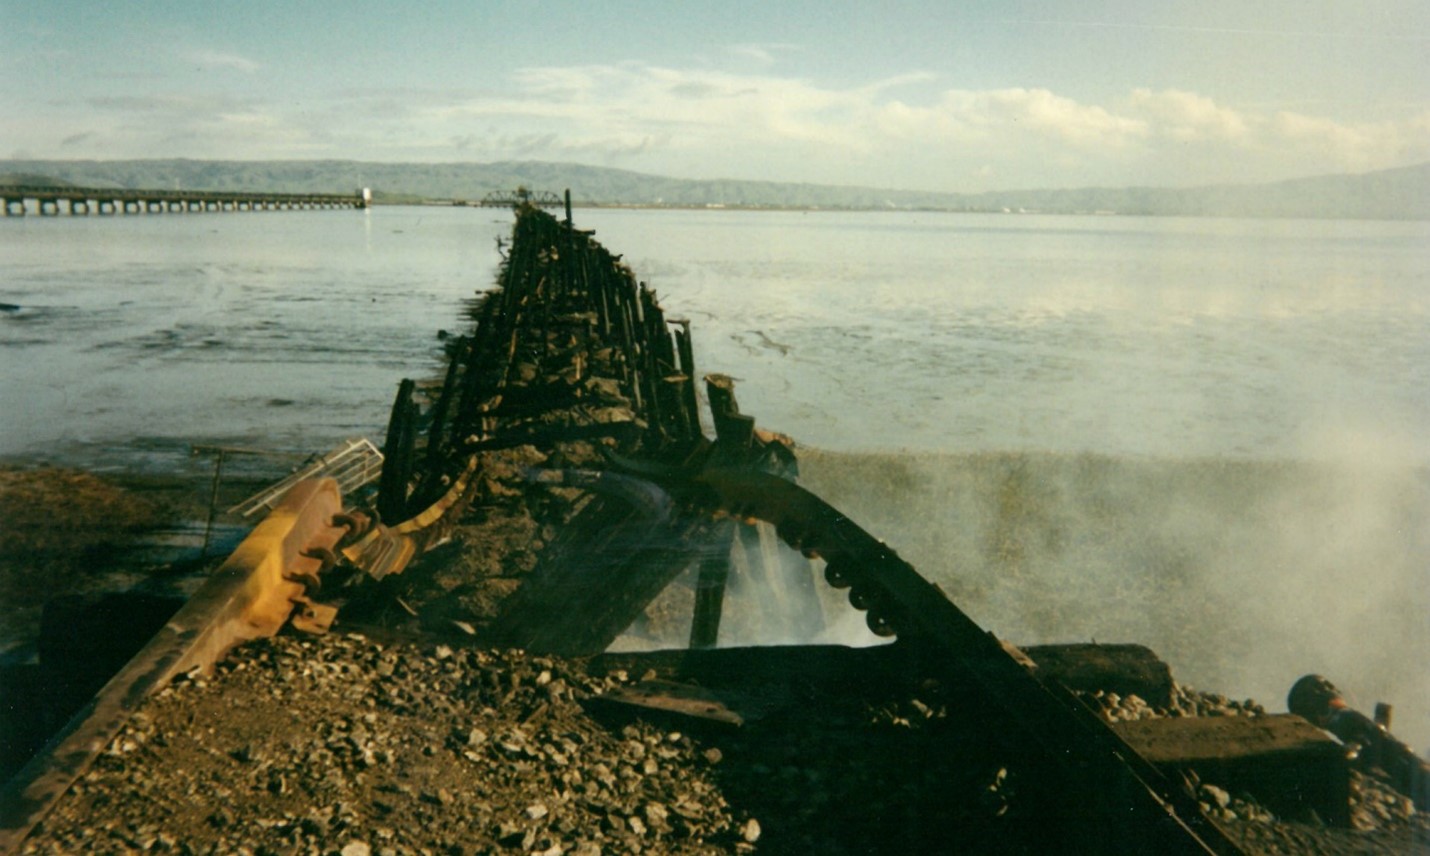
Figure 17: Farm tractor plowing field
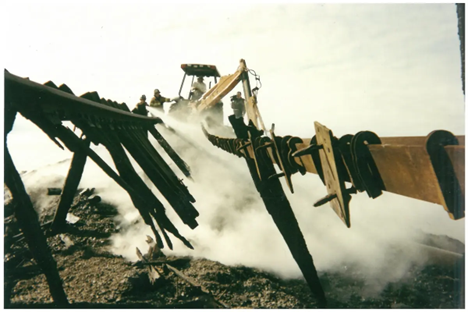
Figure 18: Firefighter stands in front of Dumbarton fire
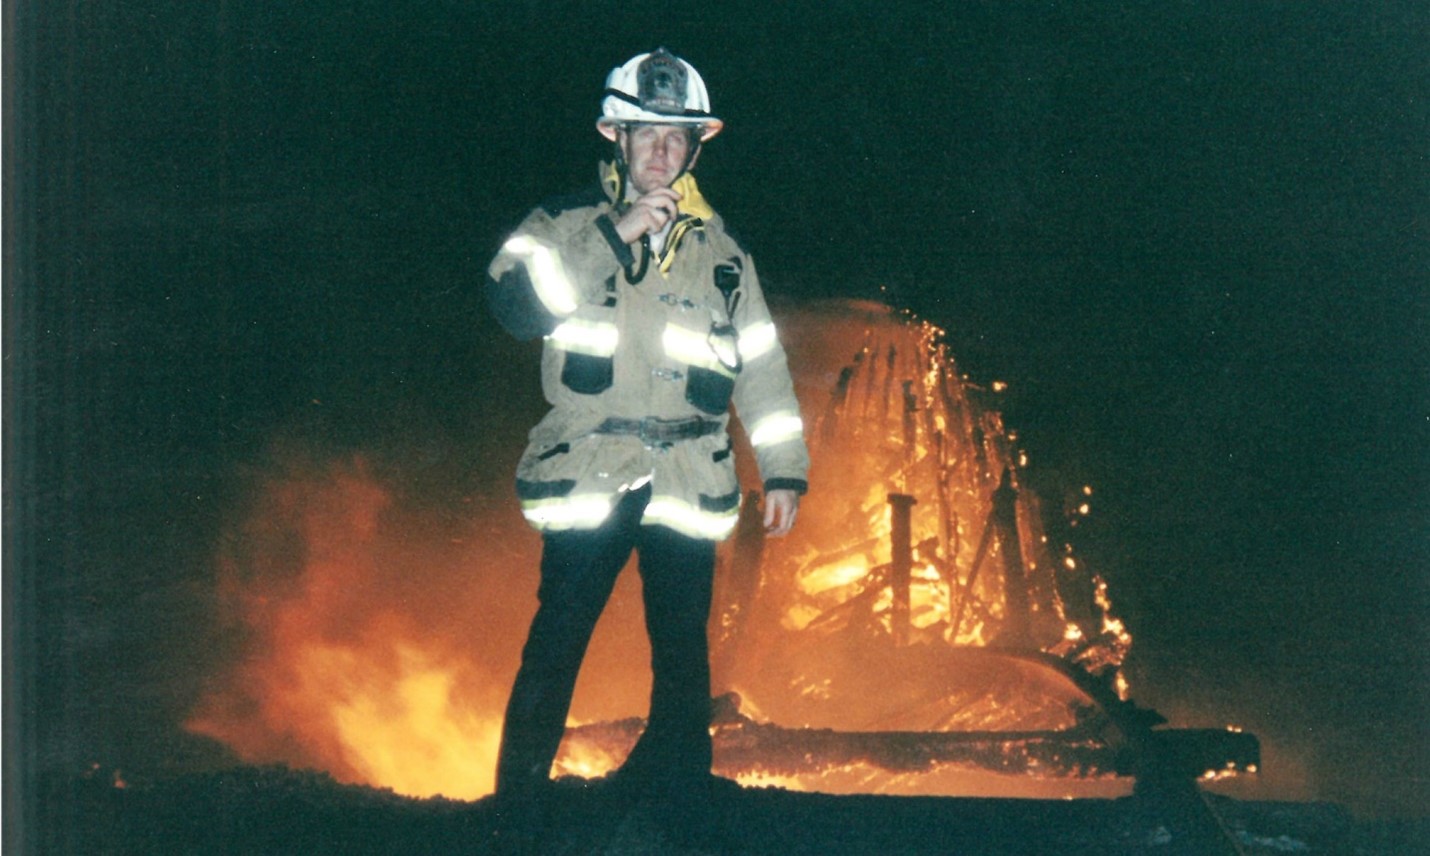
Figure 19: Multiple firefighters operating fan boat in front of fire
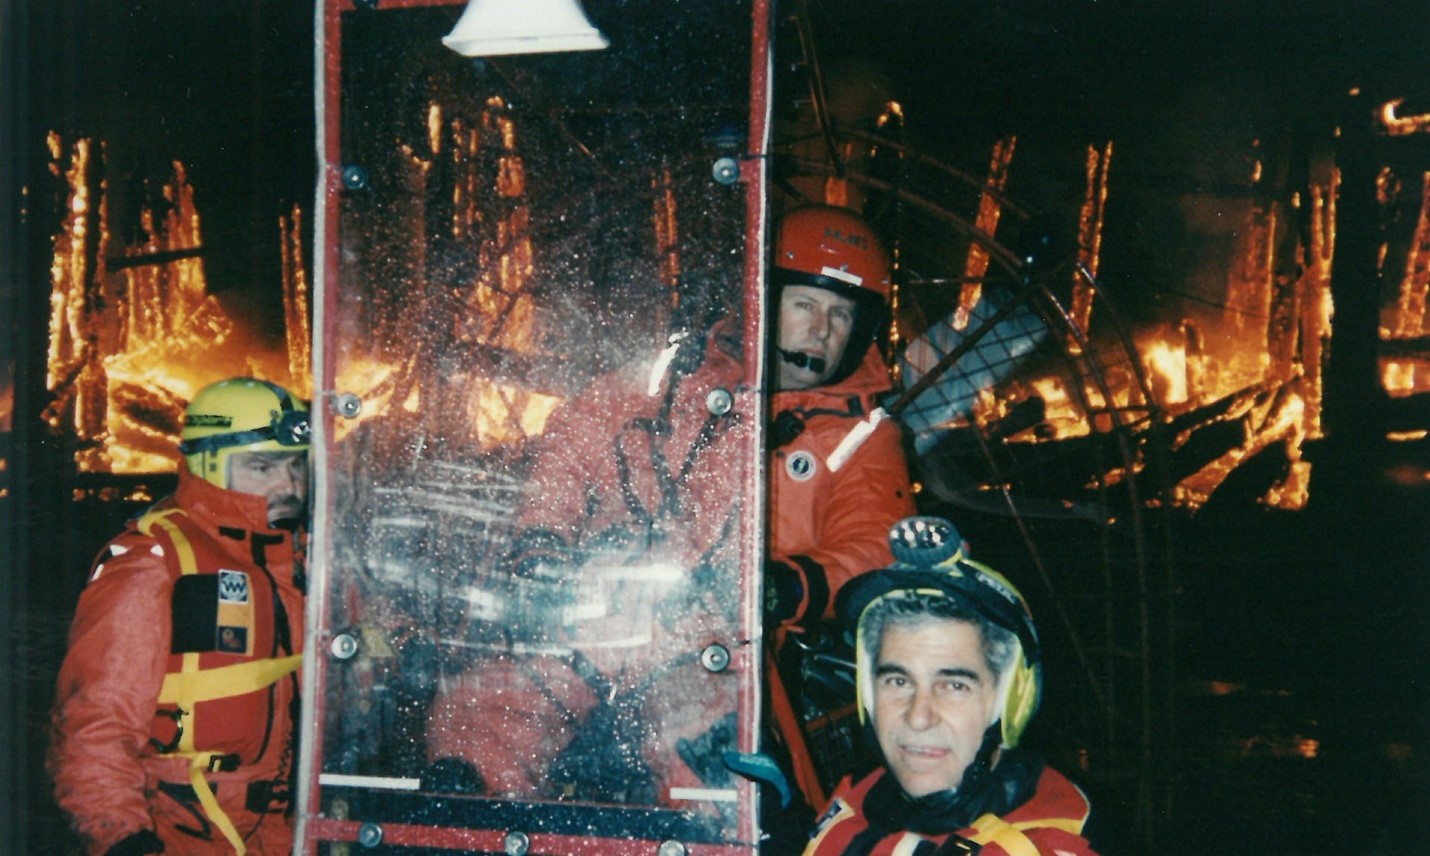
Figure 20: Four firefighters pose in front of fire at night
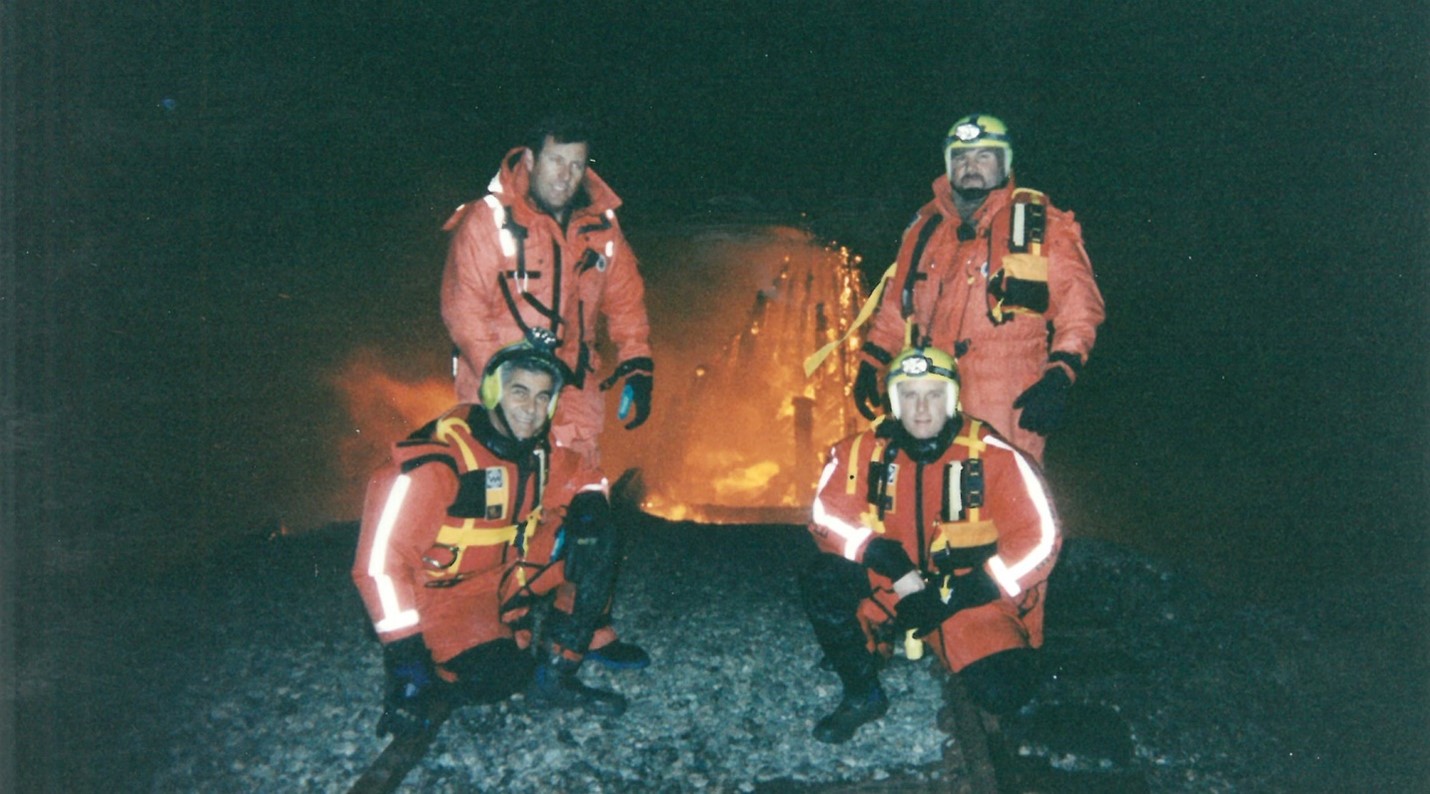
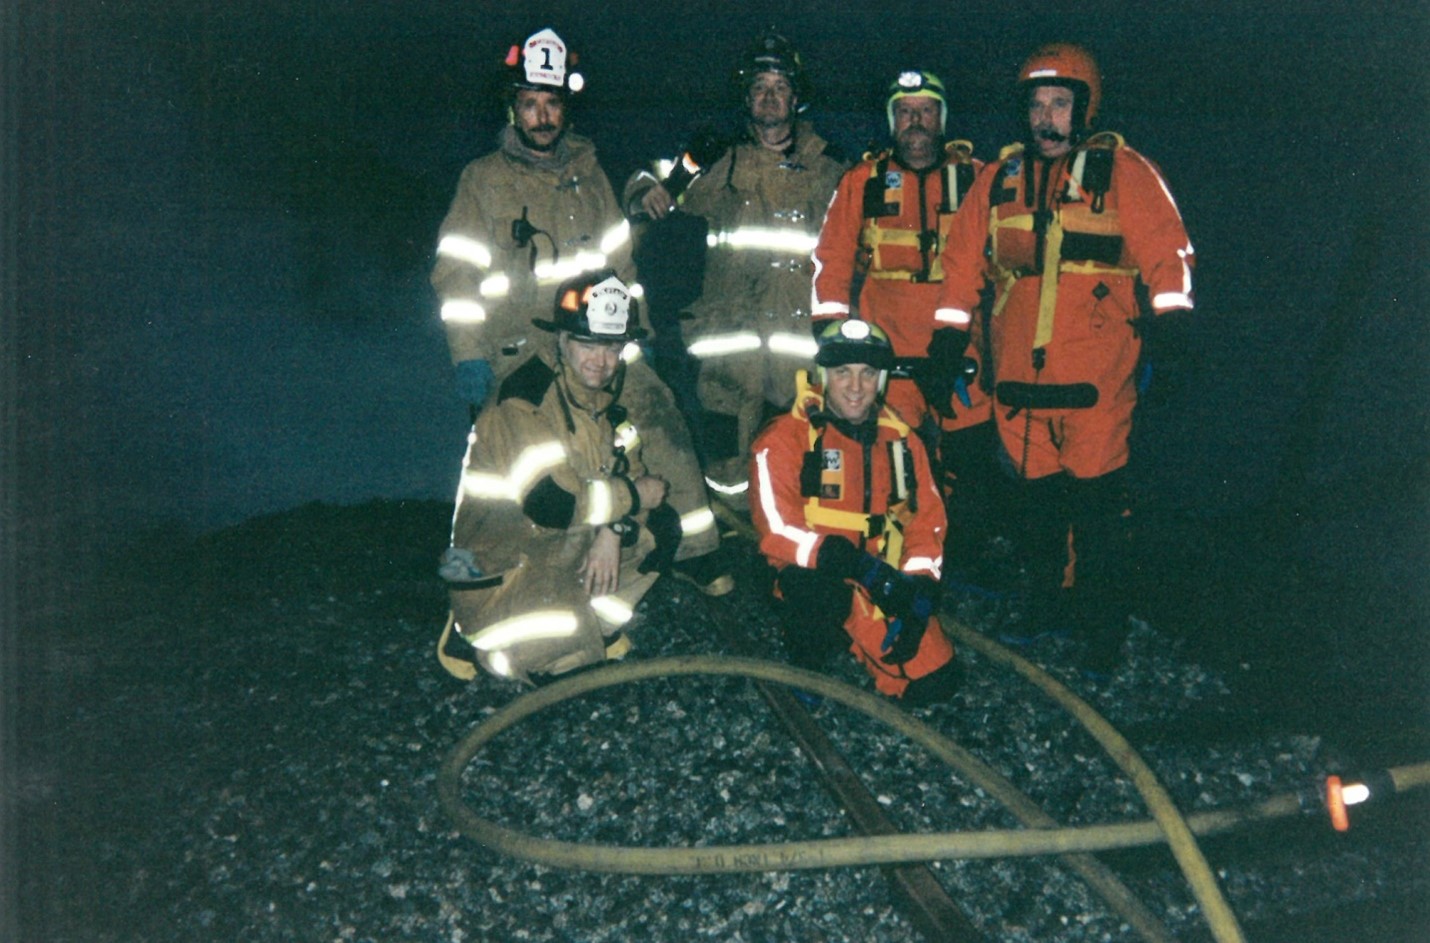
Figure 21: Five firefighters pose in front of smoke at night
Patch. (2017, December 30th). 25 Never Seen Photos of Infamous Dumbarton Rail Bridge Fire.Menlo Park-Atherton, ca Patch. https://patch.com/california/menlopark-atherton/25-never-seen-photos-infamous-dumbarton-rail-bridge-fire